|
Getting started |
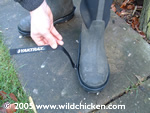
Make sure your Yaktrax Pro are the right way around - the large rubber tab should be at the back.
Make sure you have Yactrax Pro the right way up - the words and size (S, M, or L) should face out to the back. |
|
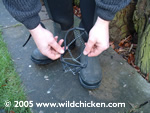
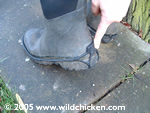
Step 1 - Fit front |
You can fit Yaktrax Pro standing or sitting - we find it easier to have the boot or shoe on first.
If you have the boots on, raise your toes and put the Yaktrax on the front part of your boot or shoe. |
|
|
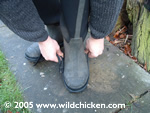
Sliding your fingers back along the stretchy elastomer as you put you toes down and make sure the edges of the Yaktrax are at the sides of your wellington boots. |
|
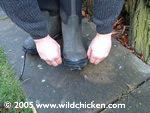
Step 2 - Fit back |
Raise your heel and pull the elastomer up over the heel of your wellies. |
|
|
On some boots there is a small kick bar at the back of the heel - pull the rubber tab of the Yaktrax Pro up over the rubber kick-bar.
|
|
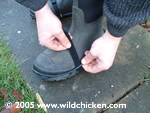
Step 3 - Fit velcro |
We prefer to use the velcro fastener that gives extra stability to the Yaktrax - we think this is essential for wellingtons and larger boots, but on smaller shoes, you might find it a more an option for deeper snow or steep banks.
Personally, I prefer the extra stability. |
|
|
Make sure that when you thread the velcro that the 'fat' part of the elastomer is at the top.
Failure to do this means you could break the gap for threading the velcro. |
|
|
Secure the velcro - it does not need to be pulled really tight, but should be firm, not slack.
|
|
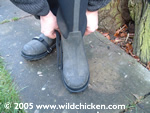
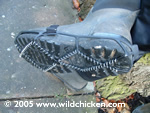
Step 4 Final check |
If you are wearing a cleated boot, try fitting the elastomer in the cleats if possible to help reduce wear when you move from ice and snow to concrete.
Check that the elastomer is not twisted and that the stainless steel coils look relatively even. |