Building a straw bale composting toilet
Part 2 of the Great Composting Toilet Project - putting up the walls
Part 1 Part 2 Part 3 Part 4 Part 5
Before we get going, let's introduce everyone:

Karl
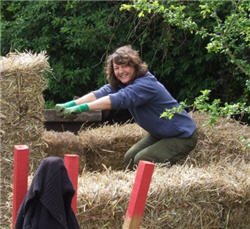
Me
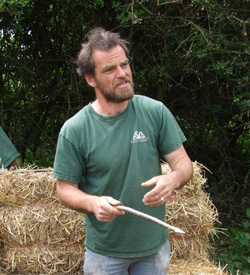
Matt
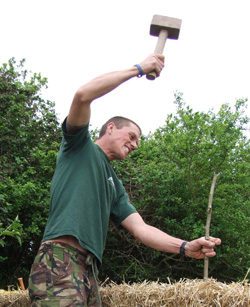
Dave
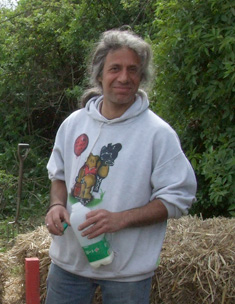
Pierre
Tom
So we arrived on the Wednesday morning to find the thatchers already there in the border between the field and the hedge, unloading kit from their wagon - straw bales, hazel staves and tools. We had a boot full of wood, much of it second hand scrap, and the tools that we would need - scythe, loppers, saws, hand drill, nails etc.
This is the space we started with:
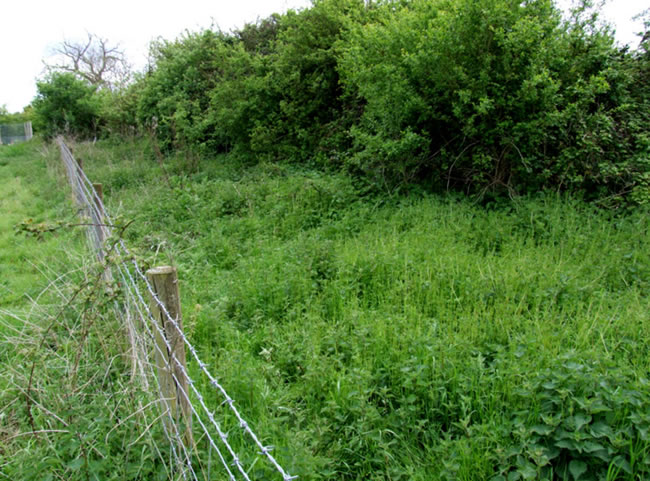
It's a gap between a field and a hedge. The hedge is mainly blackthorn and elder, though there is a lot of bramble mixed in there. It needed cutting back a bit, but not too much, and yes, we did check for nesting birds. Some of the brambles were wicked and I don't think anyone went home without at least a few scratches and punctures. The weeds were a mix of nettles and cleavers. Nettles are lovely to scythe, so easy to cut through, but cleavers have a tendency to tangle up round the blade. It was done pretty quickly, though. We kept the stuff that we'd cut for later use, but more on that in a while.
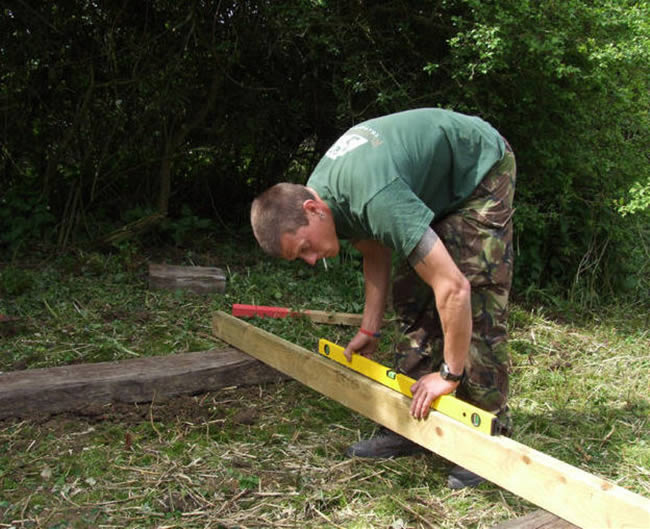
First off, the base had to be made level and the 'footing' - railway sleepers - put down.
A great deal of measuring was done to make sure the site was as flat as we could make it and also square.
Then the base layer of bales was put down and we tested to make sure there would be enough space inside.
There was. Once that was done, Matt and Dave started on the job of building up the layers and securing them.
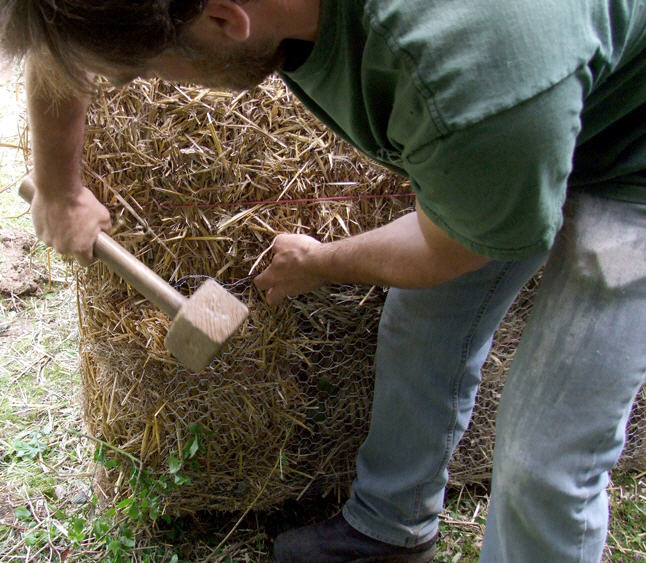
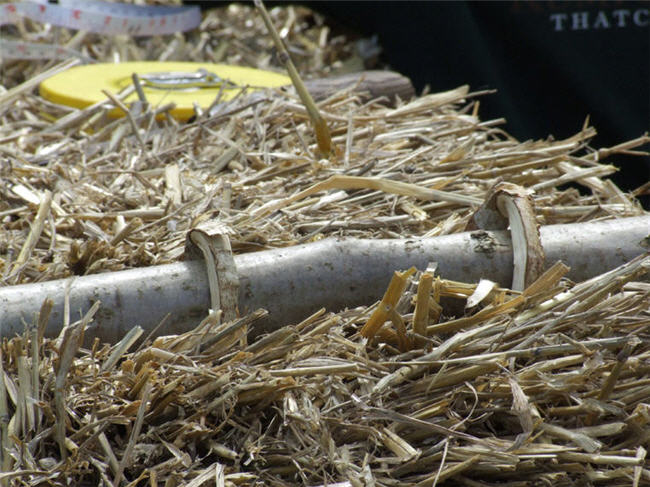
Wire netting was wrapped around and under the base layer and fixed in place using short hazel staves.
This will help to keep the base firm when the other layers go on and it should also deter any small mammals from burrowing into the lower bales and making nests.
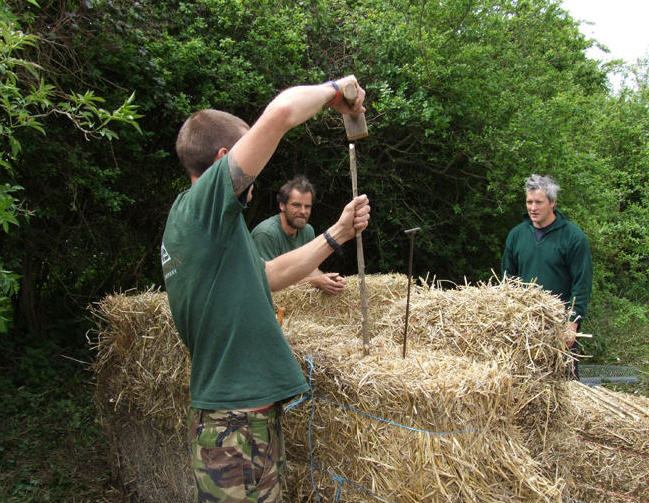
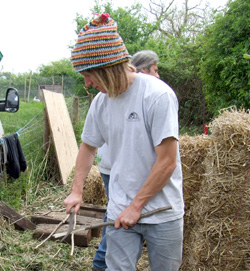
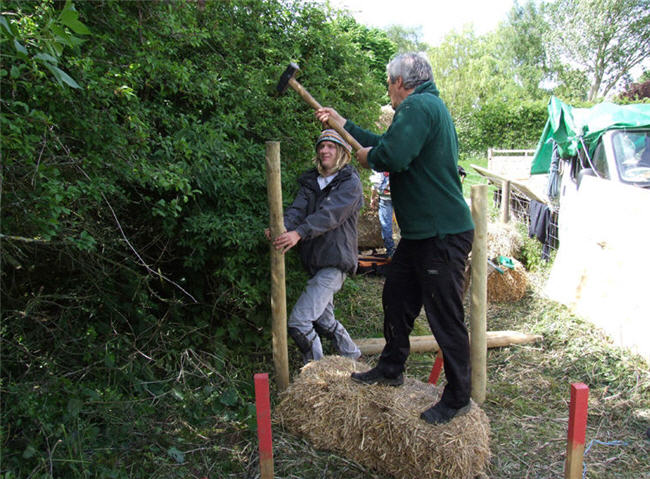
Longer hazel staves were hammered all the way through the bales, holding them together. The staves were put in on all sides, the whole way up the structure. The metal T-shaped thing sticking out of the straw is a giant needle - you thread it with baling twine and stick it through a bale. It's very useful if you need to make a bale smaller without it falling apart in the process.
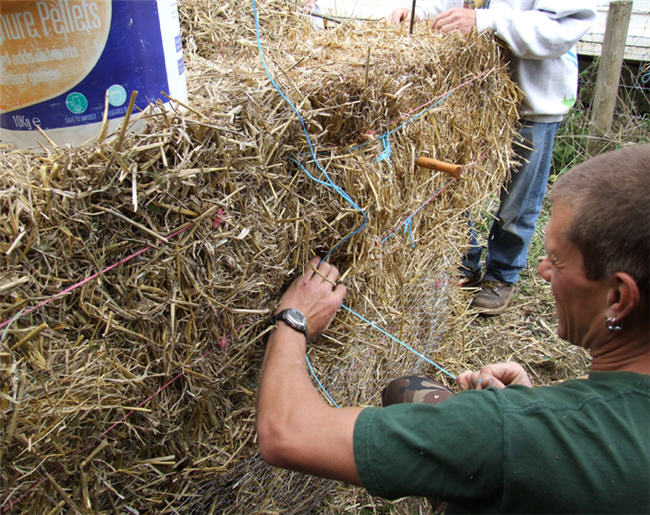
Where half bales were used, these were firmly tied in to other bales with baling twine.
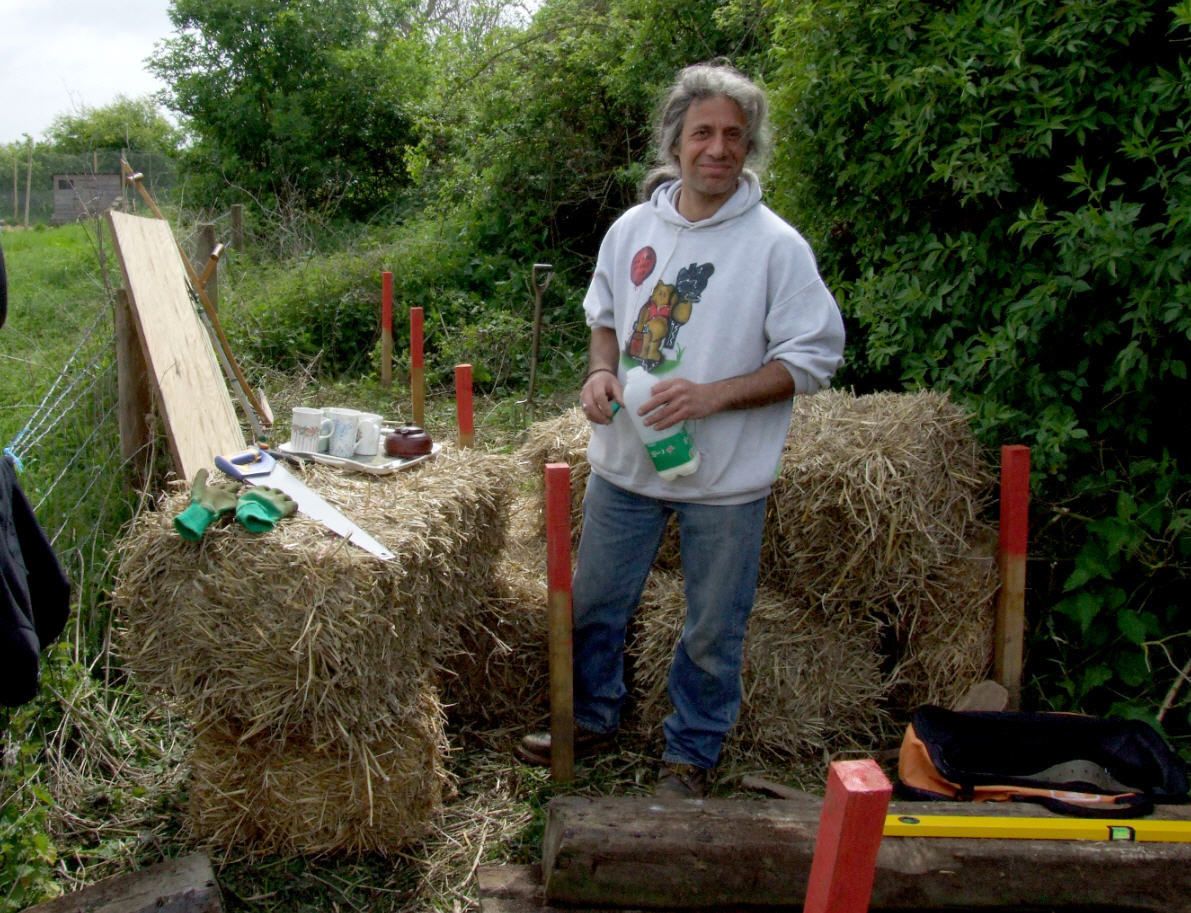
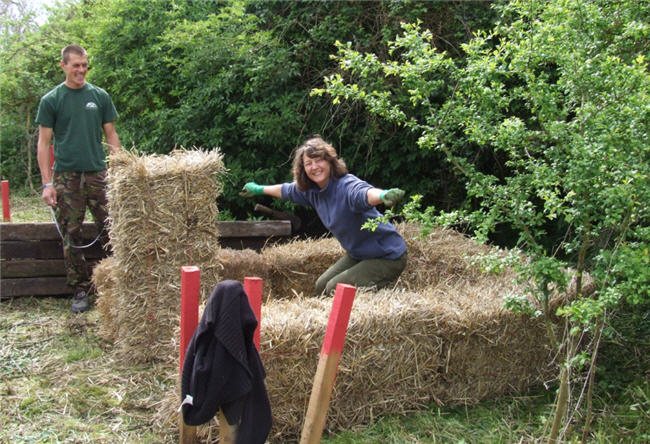
Then we stopped for a cup of tea. The bales that hadn't been used yet came in handy as tables or for standing on. In the background you can see where the composting bays have been marked out.
Tom helped Karl to put in the supports for the composting bays. There are three bays so far - the first one is to hold the results of the toilet. A 'biological sponge' is first put in; this consists of about two feet of mixed straw and most of the stuff that we scythed down to make space for the work to be done. Each time the toilet is emptied, a layer of covering material is put over the top and this will be made up of old straw, cut weeds, autumn leaves, grass clippings and whatever else is to hand. As long this bay is properly covered, there will be no smell and no flies.
The next bay is to hold the covering material. To keep it sweet and stop it turning into anaerobic mush, we dry it first.
This bay has a roof over it as well, to keep the rain off.
Next to this is the second composting bay, which will start being used when the first bay has been in use for a year.
If, after a year, it is felt that the first bay needs more time to compost then another, third, bay can be started.
We are building the bays so that there is room for four composting bays and the covering material bay.
That way, if there are any doubts, the bays can just be left for one or two more years.
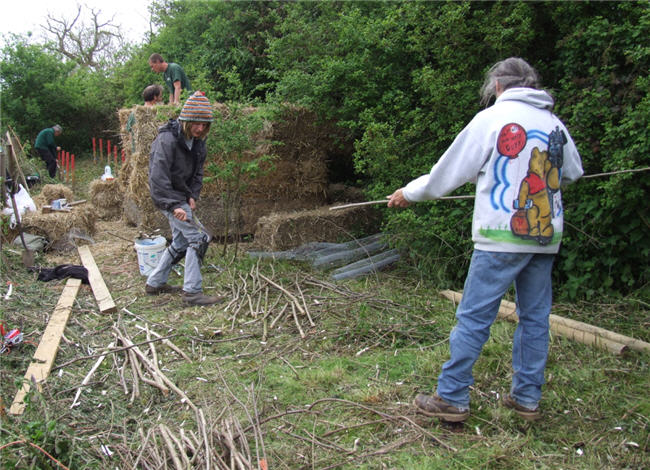
Tom was called back to help Pierre sharpen hazel staves. A great many of these were used to secure the bales and make sure they hold together firmly.
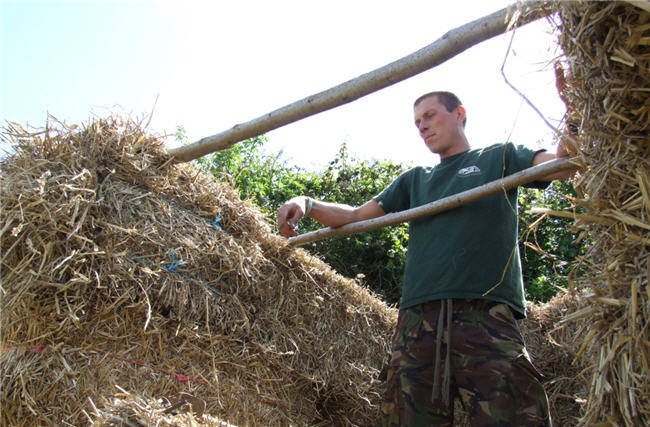
Once the walls were high enough, the first roof supports were put in and. They don't look big, but there were a lot of them and remember that they don't have to hold up a large number of heavy tiles. Once again, hazel was used.
Matt told us that they like hazel because it grows long and straight, but that they also use dogwood (Cornus species), as it has a similar growth habit.
The supports were tied in using hazel staves twisted into a 'U' shape and then hammered in.
Part 1 Part 2 Part 3 Part 4 Part 5
Garden Learning Projects - Overview
© Copyright Miranda Hodgson 2009