Building a straw bale composting toilet
Part 3 of the Great Composting Toilet Project - preparing the roof
In part 1, I talked about the idea of composting toilets and in part 2 the people involved in making the toilet and composting bays were introduced and the first part of the day was covered. Then the page got rather long and I decided to make another one.
At the end of part 2, the walls were up and Matt and Dave were putting in the roof supports. Here they are, busy at that job:
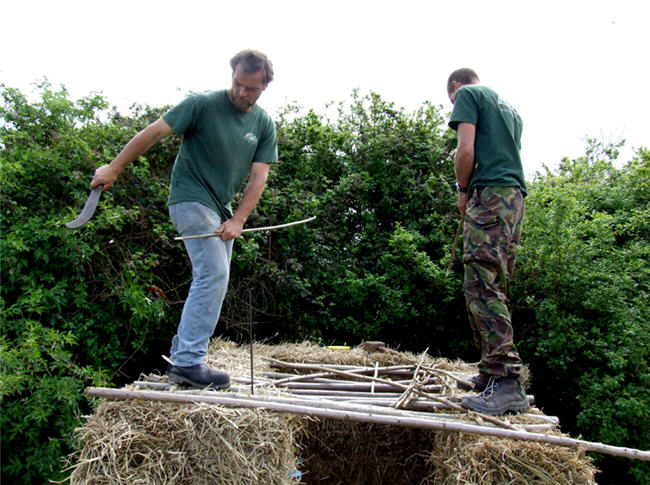
Note that splendid tool that Matt is using. Not sure what it's called but they all had one.
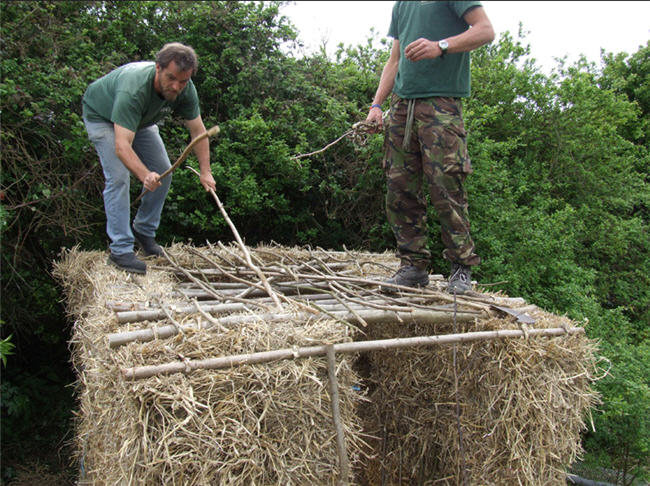
Once the first stout layer of cross pieces were in place, a layer of thinner pieces were criss-crossed on top in several layers.
And then more layers went on. You can see that it's already strong enough for two men to stand on. In the background, Karl is still putting together the composting bays.
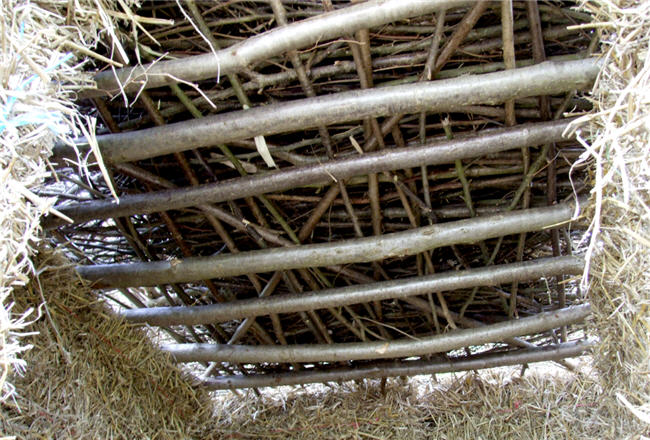
This is how the roof looks from inside.
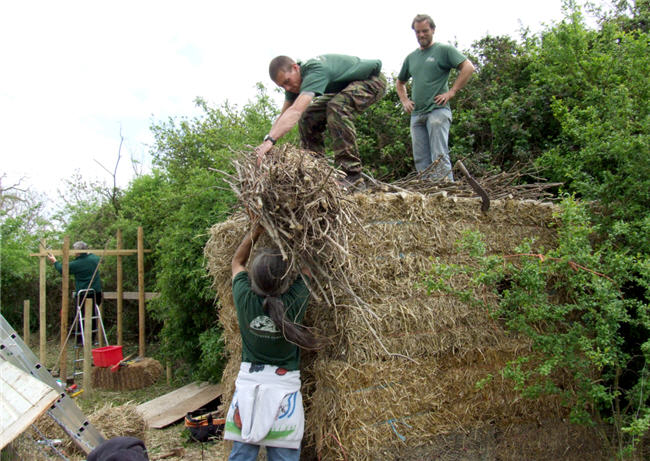
Matt and Dave don't want to mortar the walls until the roof is thatched, so that the walls can settle with the full weight on them. The roof still needs something on it to keep the weather out, so they put some more bales on top, just for the moment.
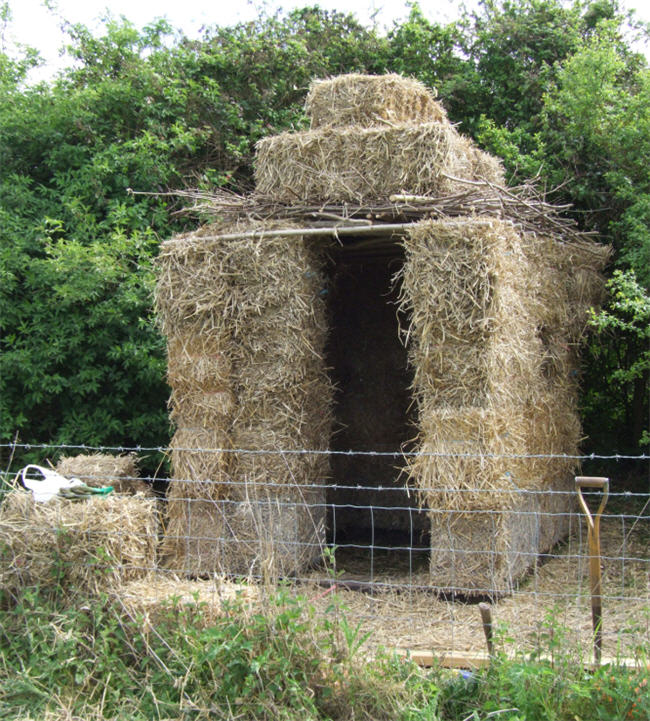
It looks rather odd, but it's only temporary. Once that was done it was just after 5pm, so the thatchers packed up and went home.
The next session will either be on an evening or a weekend. The door frame will be fitted with wooden planks and a door put on, then the roof will be thatched. Once the walls have settled, the straw bales will be wet down and then the mortar will go on, both inside and out. This will be a mix of clay, sand and chopped straw.
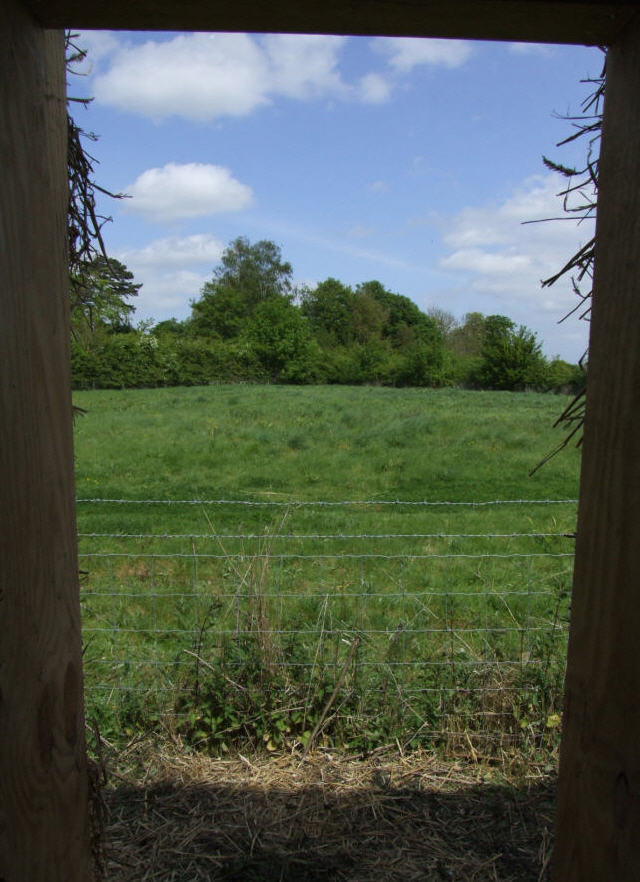
Here is what you see from inside. Three horses have just been put in the field which will add to the view.
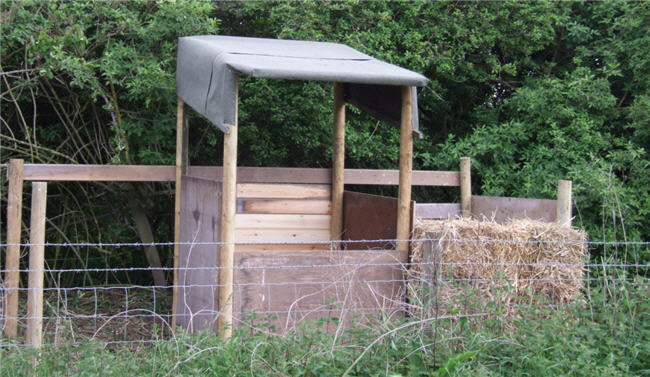
We carried on with the composting bays. They aren't finished yet, but we have one bay for composting and a covered bay for covering material, so there is enough to be going on with.
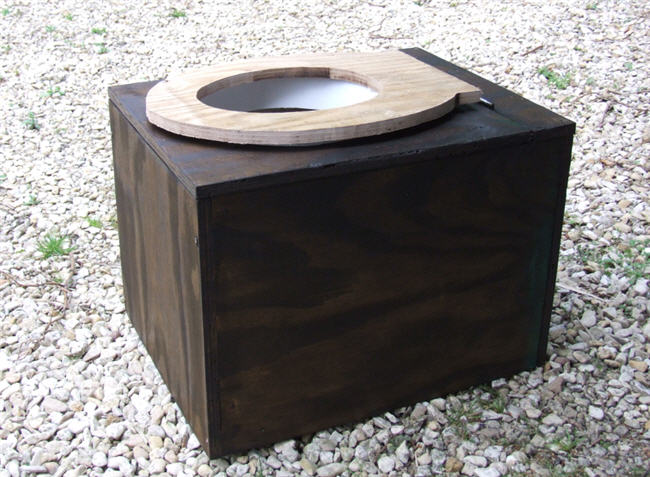
This is the (nearly finished), toilet. The seat has to be sanded down, a lid put on and all of it stained the same colour. The box has a hinged lid and the hole has a plastic liner. Underneath is an old plastic brewing bucket.
Every time you 'go' you cover your doings with sawdust and close the lid. This acts as a biofilter, keeping out smells and flies, though if the stuff in the toilet is properly covered there shouldn't be a smell anyway. When the bucket is full enough (you'll know when that is!), it's emptied in to the composting bay and covered. Once washed out, it goes back in the box. Simple.
I'll report back, with pictures, when the next phase is done. Check back in a week or so.
And here it is, Part 4
Garden Learning Projects - Overview
© Copyright Miranda Hodgson 2009